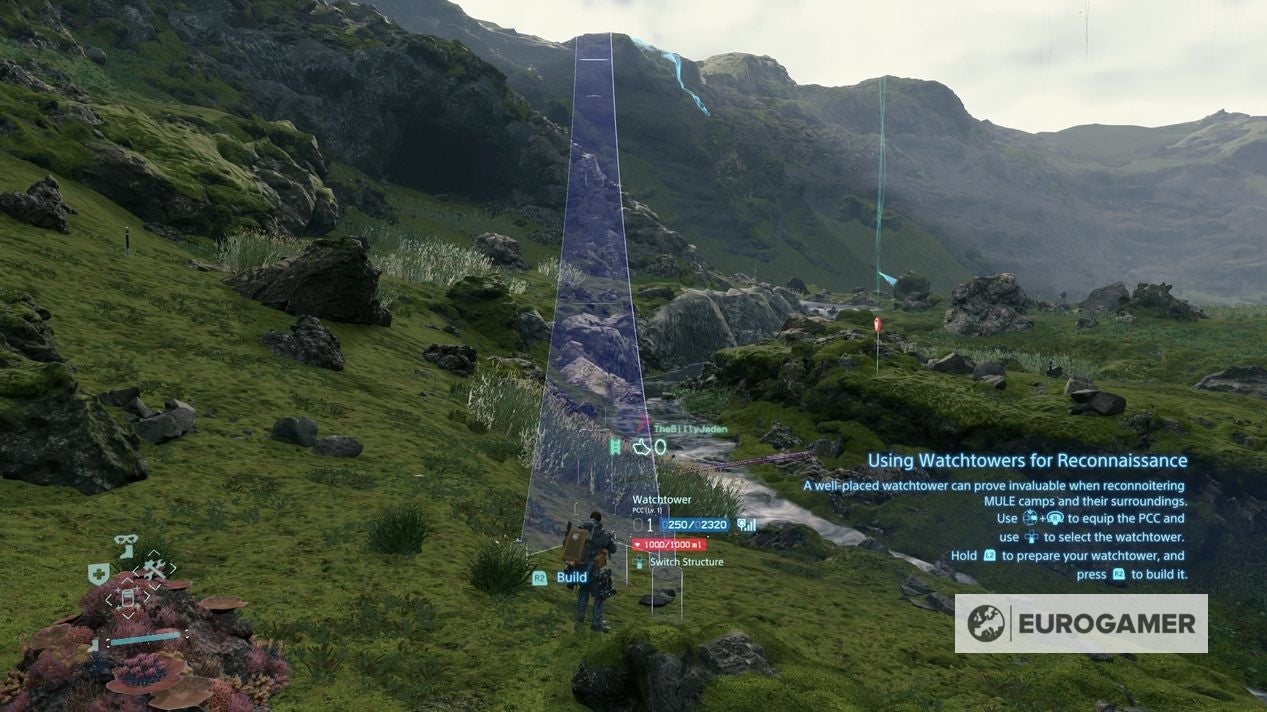
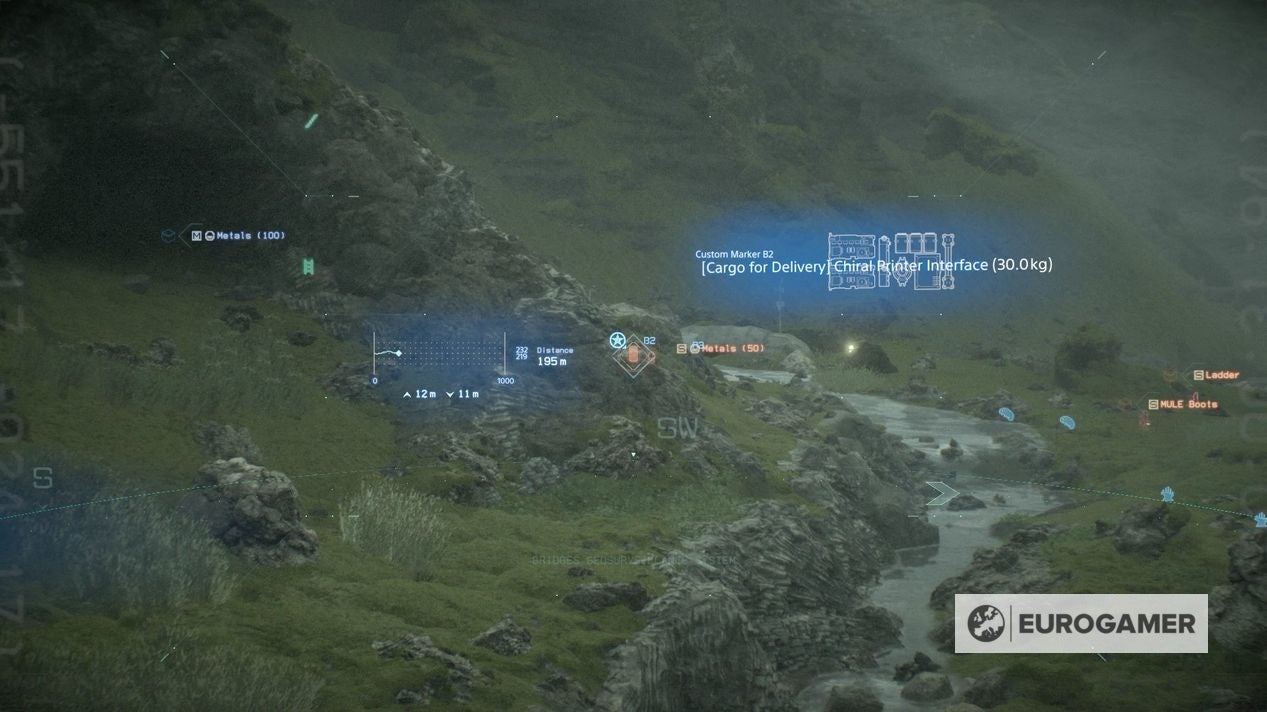
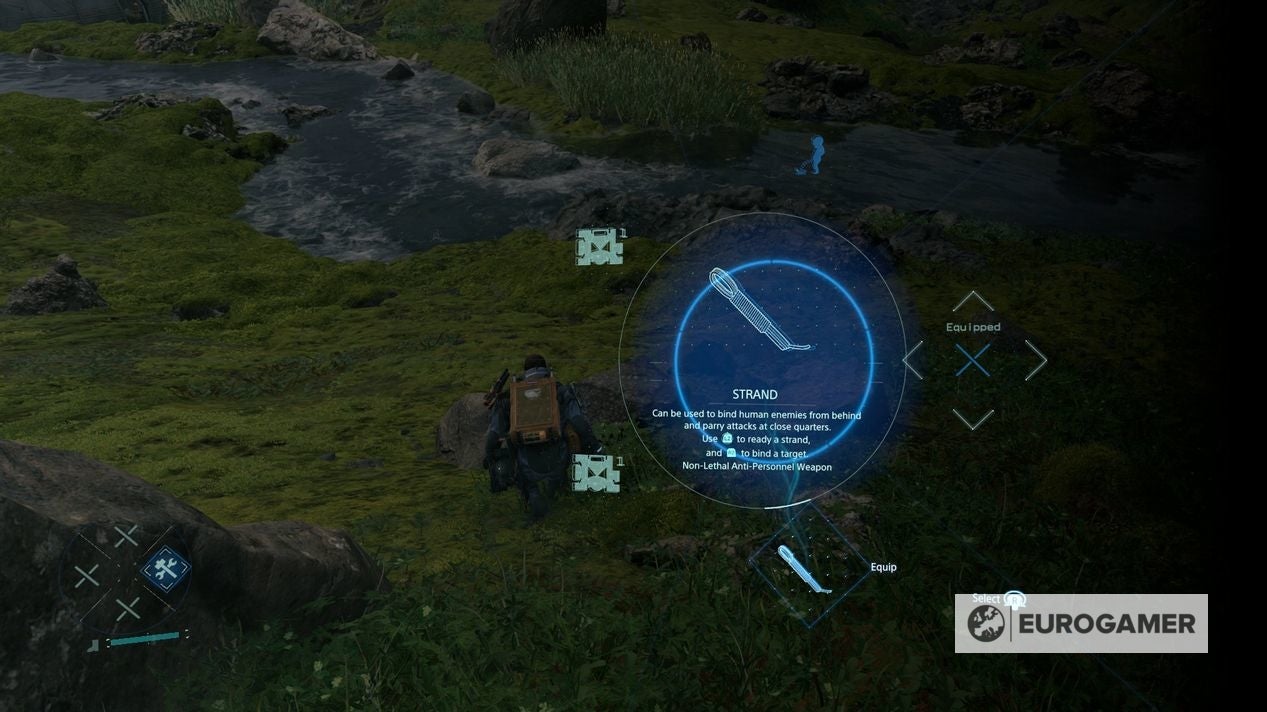
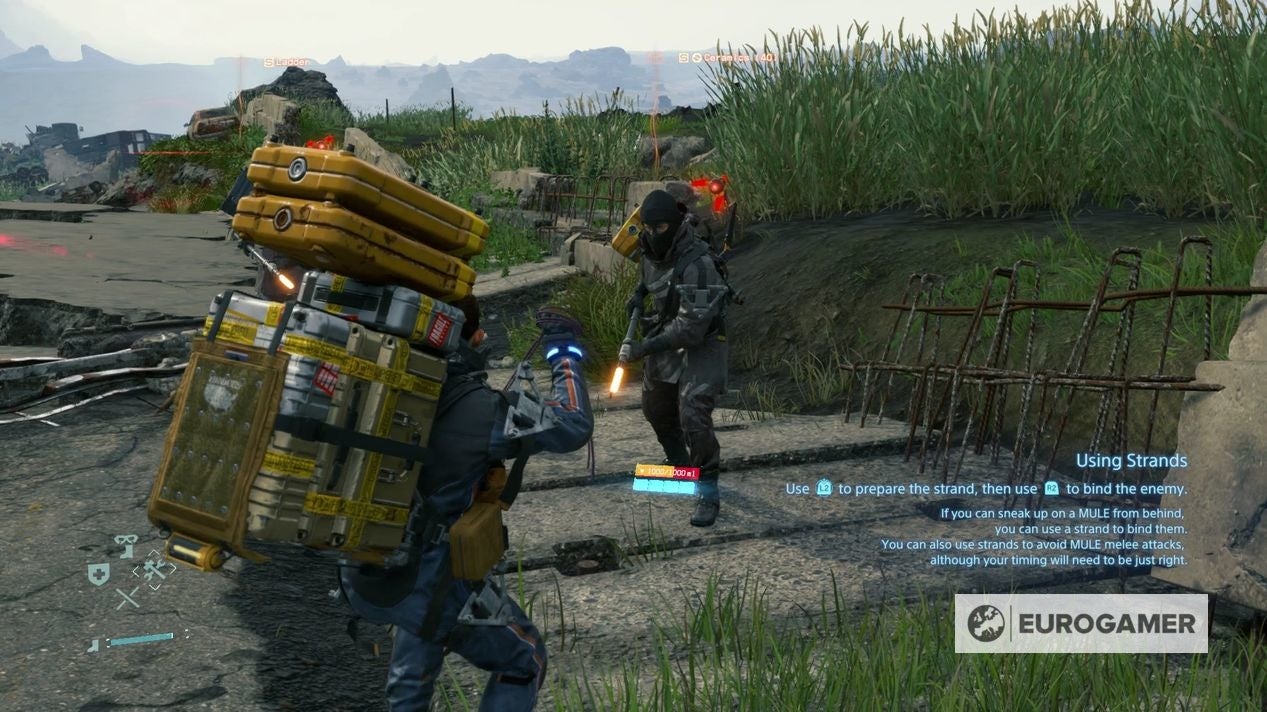
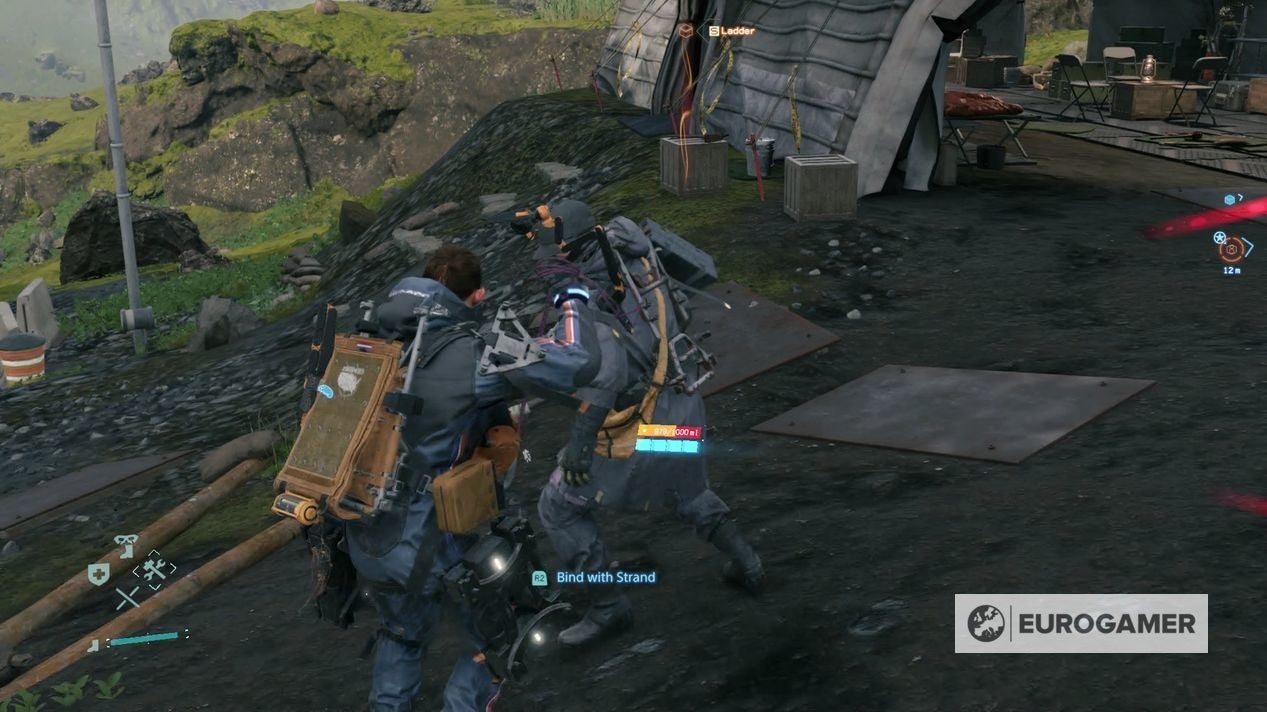
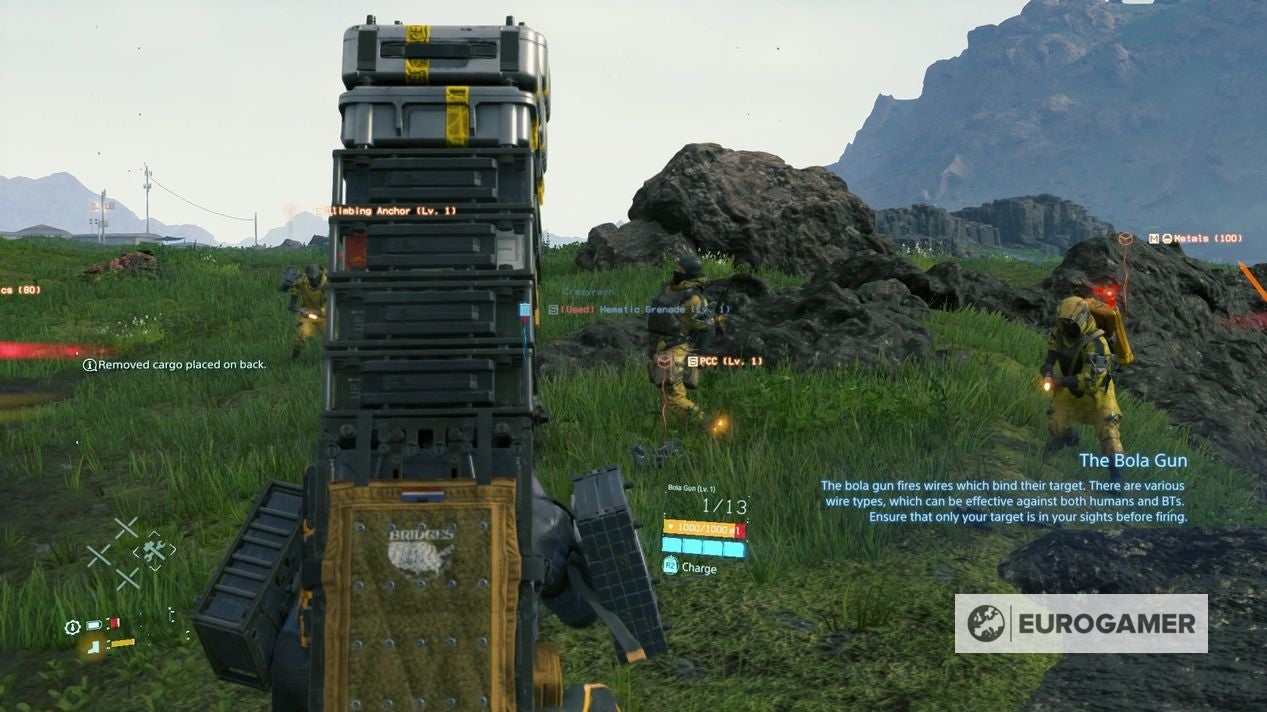
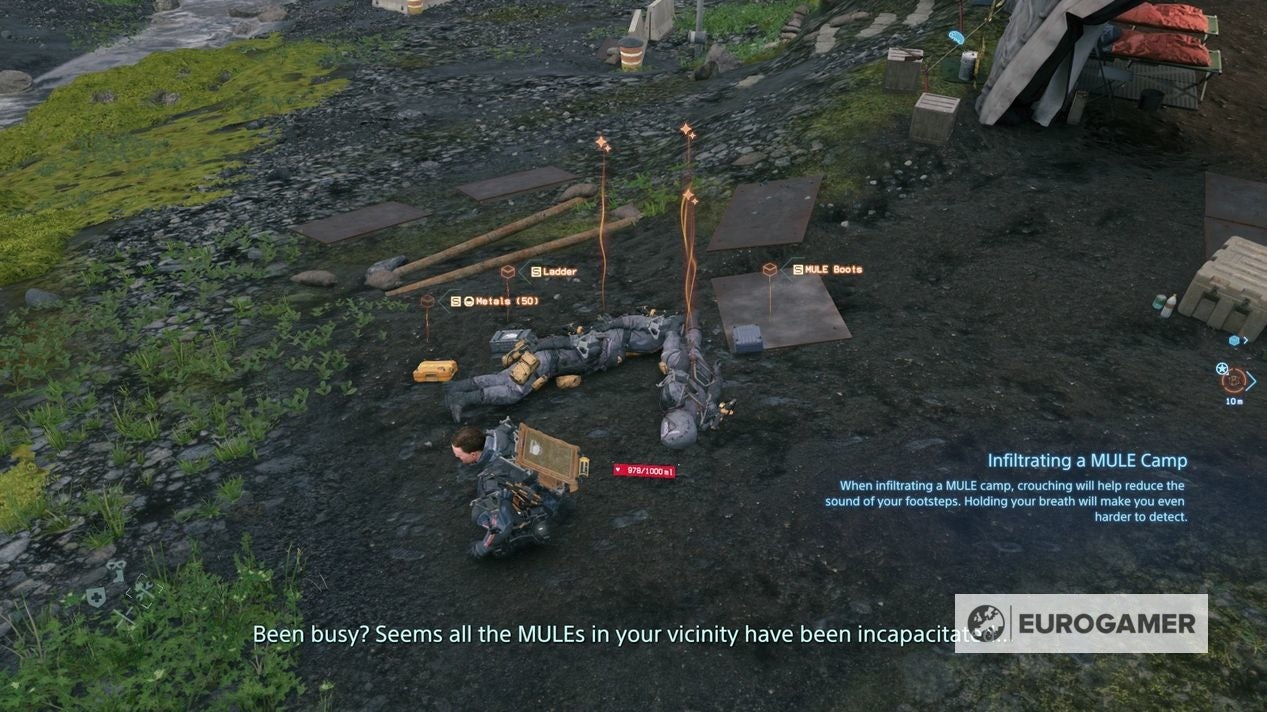
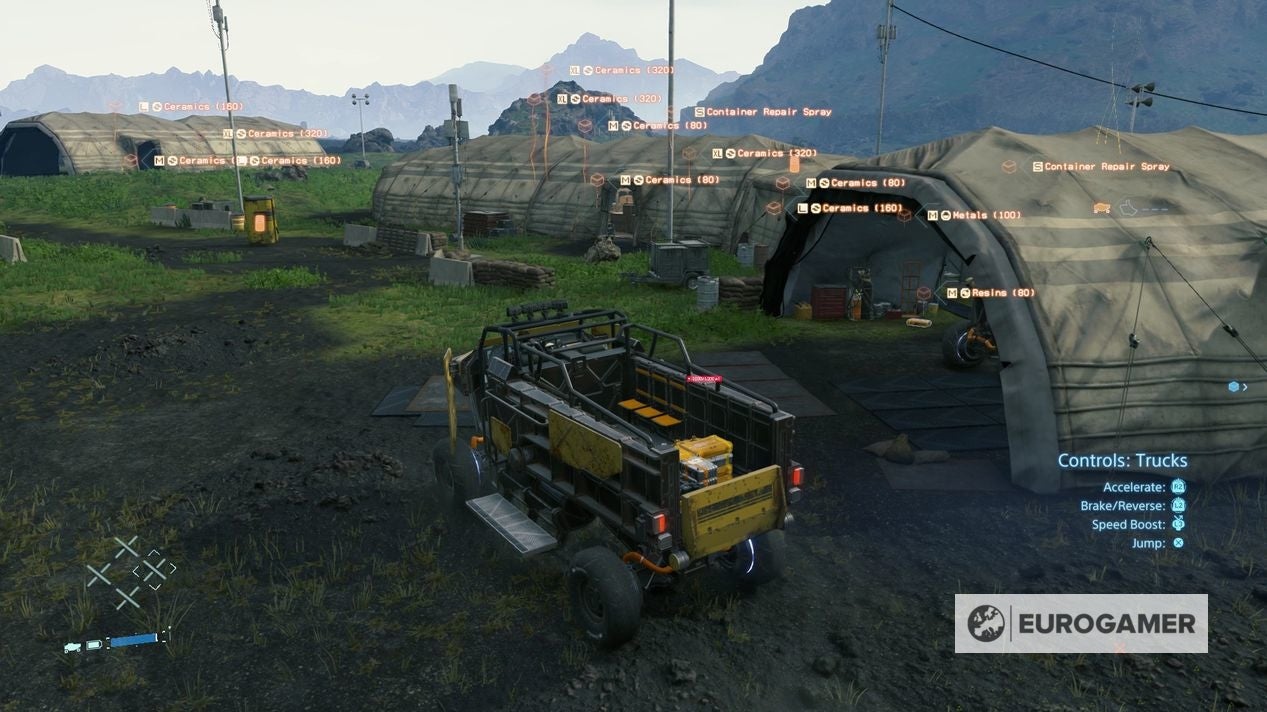
Though Mules are easy to detect from a distance, they can be hard to avoid, but thankfully there are a few strategies to take them on - and some healthy rewards in doing so. As such, we highly recommend learning how to fight Mules - it’s the easiest and quickest way to deal with them, and the rewards for doing so are worthwhile, and on the page we’ll explain how. On this page: If you’re looking for more from the critical path, our Death Stranding walkthrough can help. They are pretty much the only other figures you’ll see when exploring, so if you see one, chances are it’s a Mule. As well as exploring on foot and in trucks, they will lay sensor poles around their camps. Mule camps are where they mainly concentrate - which are usually positioned between points of interest, making them an obstacle to avoid when making deliveries - and though dangerous locations, are also full of resources you can pinch. They are, of course, subject to a number of mandatory missions - including the introductory encounter in Order 7 in Episode 2. If you want to avoid them, the best advice is to give them as wide a berth as possible. The Mule sensor poles will outline the edges of their camp, so if you spot them, back away and try and go adjacent to their positions to find the boundary, and go round. Vehicles allow you to travel through Mule territories faster, but aren’t foolproof - a shock pole thrown from a Mule can halt a vehicle in its tracks, forcing you to fight. Though can also ‘counter’ sensor pole pulses with the Scanner Nullification feature later in the game (from Episode 3, Order 28), allowing you to stay hidden when spotted, though these are difficult to time correctly. If you want to sneak through Mule territory, then as with avoiding BTs, crouching and holding your breath is recommended. Meanwhile, having a stack of cargo on your back will expose your position when hiding. If you are desperate to avoid detection by Mules at all, a simple strategy is to carry no cargo at all. If you have nothing of value to steal, they will ignore you! If you are spotted with cargo either way, you’ll notice an orange outline of where you were, which indicates your last known position and where Mules will initially search. You can try hiding in long grass or find a cave or building to block their line of sight, but to be honest, evading them as this point is difficult. You can also flee - however, we’d highly recommend staying put and fighting them head on, as there’s an easy way to do so. This is the rope-like weapon you’ll always have on your person, and can be equipped by holding Right on the D-Pad and selecting it from the radial menu. To use it, press and hold L2, holding it out in front. Now face a Mule that’s approaching. When they attack, time will slow down, and you’ll see an on-screen prompt to Parry with R2. Doing so will evade the attack, and then offer a second prompt - Bind with the Strand, which is also performed by pressing R2. Though it might take a little practice, the timing of these steps are pretty generous, and once bound, they are permanently incapacitated. One down, many to go. Though they can and will attack as you are binding another Mule, they generally take it in turns to come at you. If you’re attacked you’ll be momentarily staggered and drop any lose cargo, but stay focused - quickly hold up the Strand again, focus on the nearest Mule, and repeat. Another factor to consider is the electric poles that are thrown your way. These are frustrating, but if you keep moving round in circles - all while still facing a Mule - then you can avoid them easily enough. Keep this process up - taking down the Mules, one at a time, as even in groups they will split off to fight you individually - and you’ll soon be free of hassle. If you are struggling to fight Mules with a Strand, you will have more weapons as you play through Episode 3 - including Stun Grenades and the Bola Gun, though this weapon only stuns them temporarily. Tomorrow is in our hands - again! Learn about the Director’s Cut’s new features, including new story missions, a racing mode, Half-Life missions and how to transfer saves to PS5. Our main Death Stranding walkthrough outlines how to play through the story, including Episode 3 missions, the Small Thermonuclear Device and how to find a way to change Lockne’s mind As you play, you can find Memory Chip locations, learn how Death Stranding multiplayer works. When they stop coming - early game camps can take less than five minutes to clear - you can freely explore the area without risk of being hassled. Mule camps feature a bounty of resources you can use to upgrade UCA facilities and other points of interest in the world, so if you are serious about that (especially if you want upgrade structures for Death Stranding multiplayer) then they are well worth plundering. The postboxes in particular have a lot of valuables - including some stolen deliveries you can complete. To help with this, some Mule camps have trucks. These are either parked up or actually carry Mules that come to you when spotted, which you can then climb inside and drive them away. Though they cannot be repaired or charged in UCA garages - meaning you have to make sure they aren’t damaged as you explore, and have to keep powered up with Generators from PCCs - they are great for loading on stacks of cargos for missions, or simply as a means of moving all the cargo you find within a camp to a UCA facility. Last but not least, clearing a Mule camp will remove Mules from the area. Not only does this make your life easier during deliveries, but it will also add friendly porters to the map too, adding some life to the world.
